
I’m so excited to share this DIY tutorial with you! My husband and I built one of these LEGO boards for our son for Christmas last year and this year we had some friends ask if we’d build one for their son too. 🙂 The kids love them! The building process is relatively simple, and I love that they’re personalized with the child’s name. Have fun with this!
TOOLS & MATERIALS
- 2×2 board of 3/4″ Plywood
- 1x2x8′ common board (we used primed finger-jointed because it’s what we had on hand…)
- 4-Pack of 10″x10″ Lego Boards
- Liquid Nails
- Paint and Paintbrush
- Wood Glue
- Nails and Nailgun (we used 16 gauge)
- Miter Saw
- Felt Pads
INSTRUCTIONS
STEP 1: Cut your boards
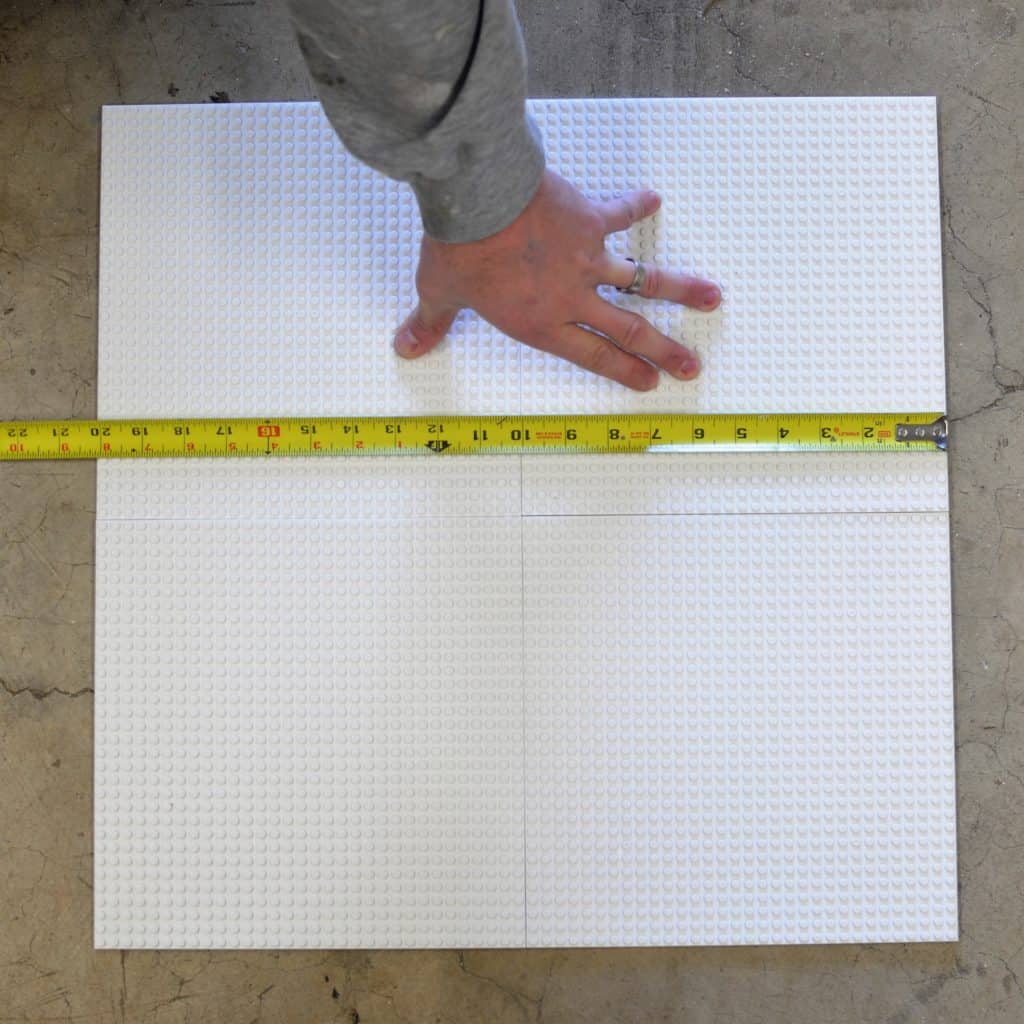
Begin by setting out your LEGO boards in a 2×2 grid and measuring the size of the square. The board packaging said they were 10″ squares, but we ended up needing a plywood square of just over 20″ to accommodate them.
Cut your plywood square the same size as your LEGO board grid.
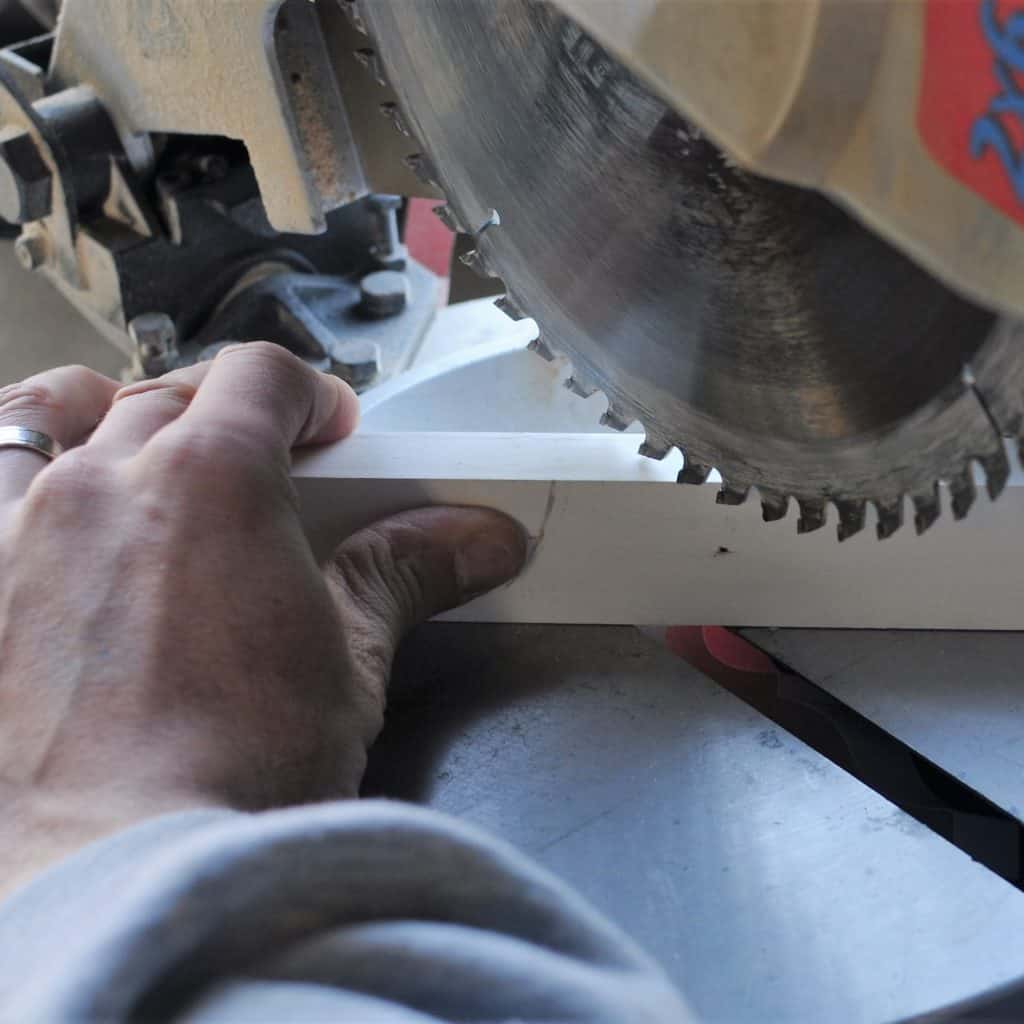
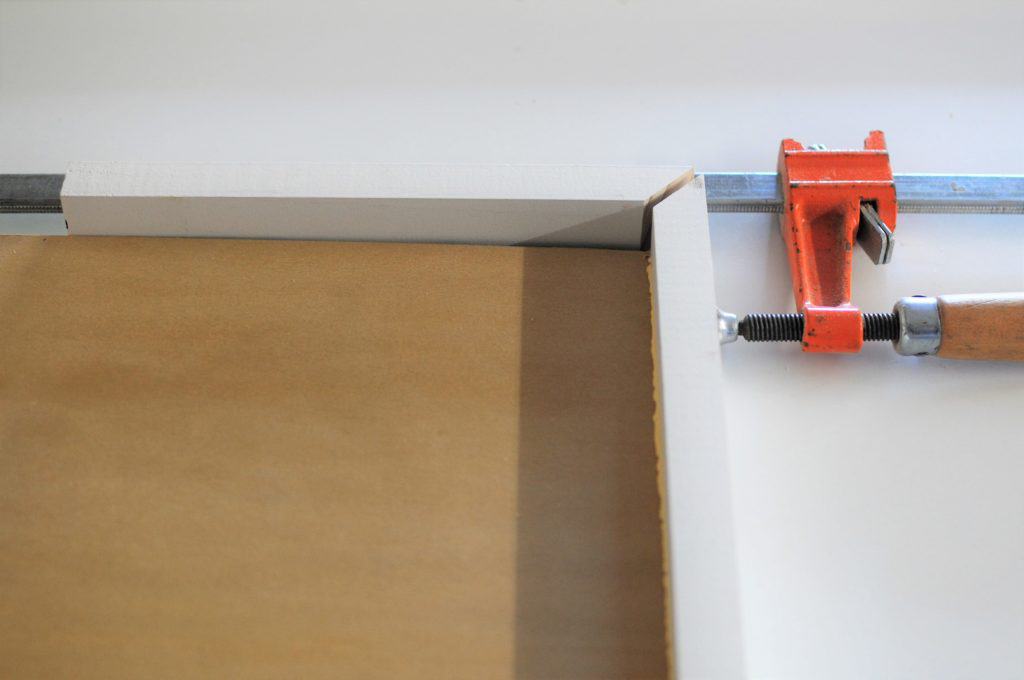
Next, cut your 1×2 sides. These should be mitered at a 45 degree angle for the corners and the shorter length should match your LEGO board grid sides.

STEP 2: Glue and nail boards together
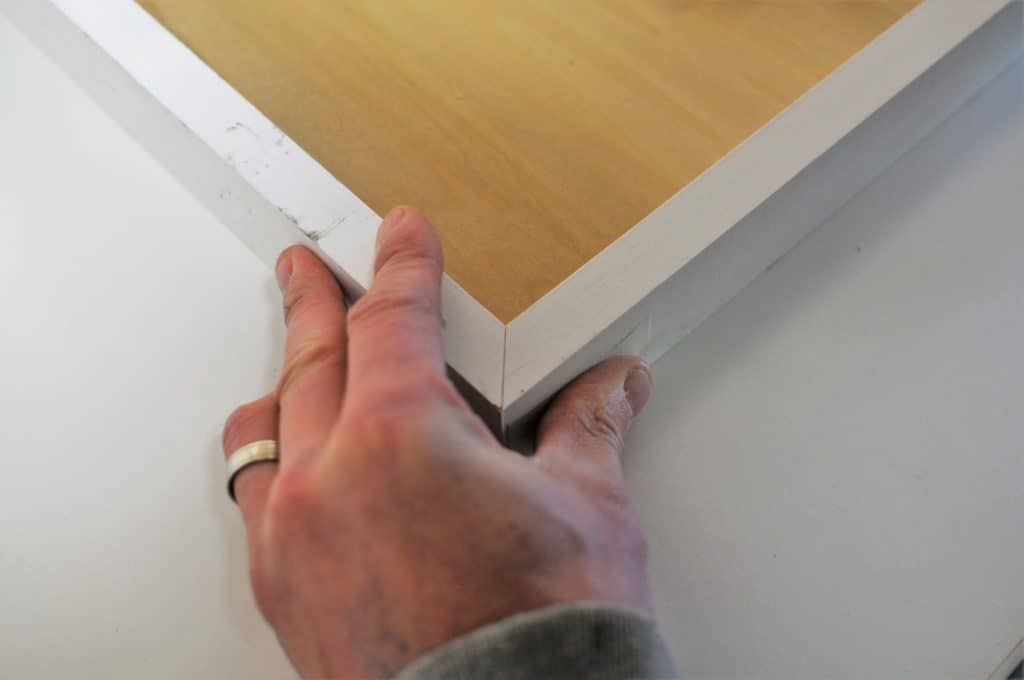
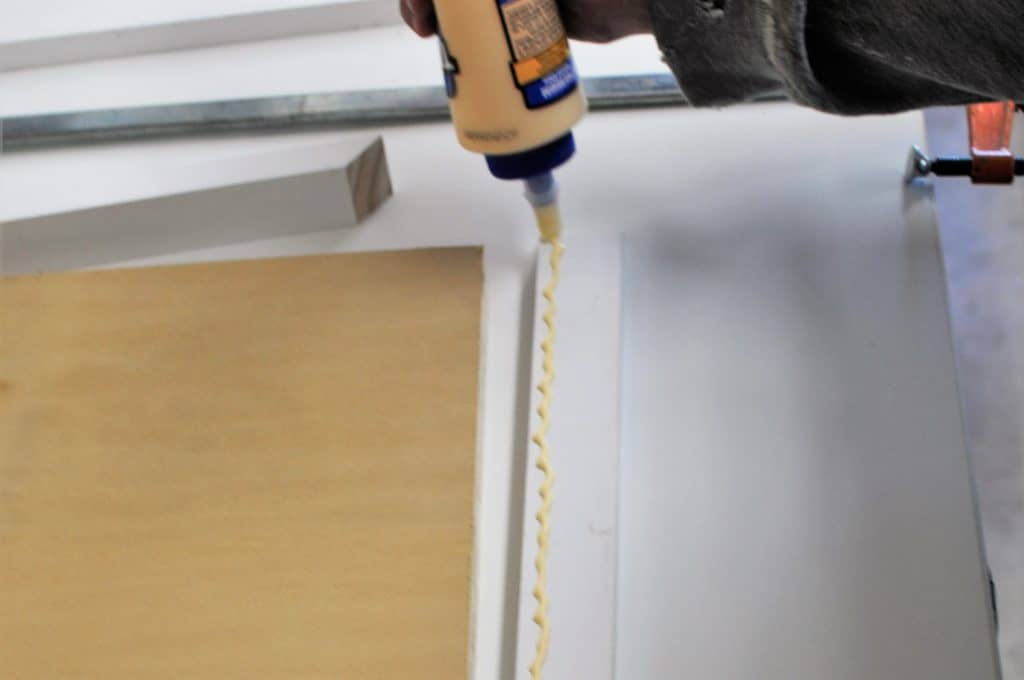
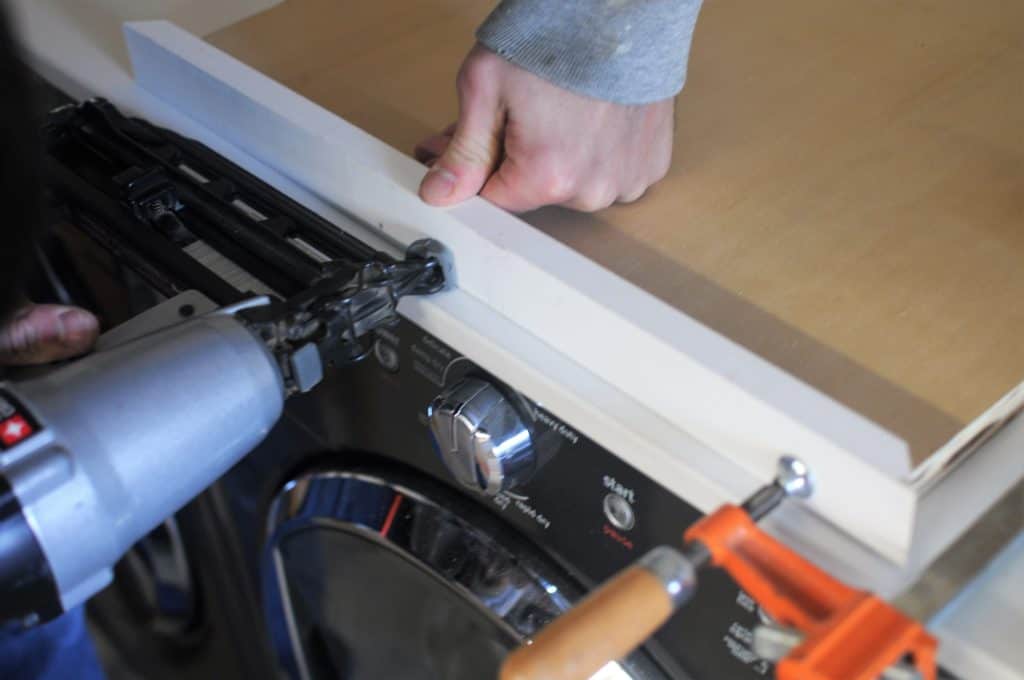
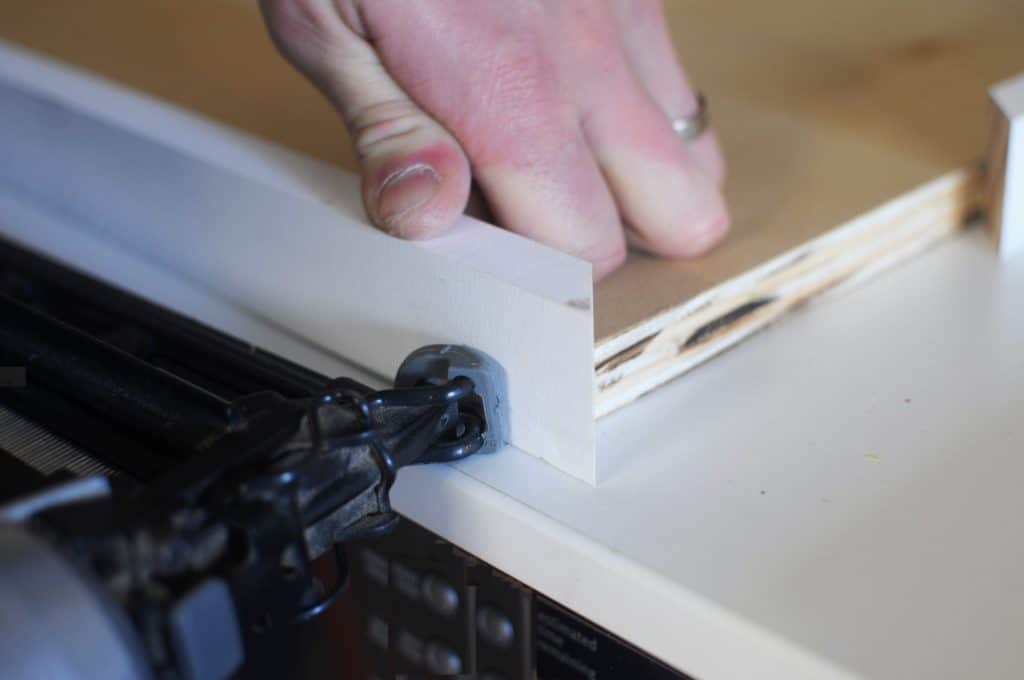
Once you have your boards all cut, you’ll need to glue and nail the sides around the plywood bottom. Start by lining them all up to make sure they fit well. Then, glue and nail the first one on using a guide piece and a clamp and work your way around.

RELATED: HOW TO CREATE A KID’S READING NOOK OUT OF A CLOSET!
STEP 3: Fill, sand and paint
Next, fill all the nail holes and the seam between the plywood board and edge boards (on the bottom) and let it dry.
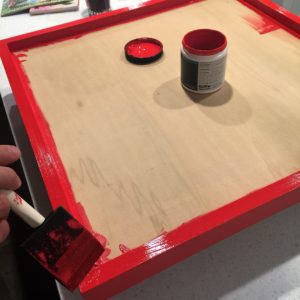
Sand all the seams flat and paint the entire bottom and all four trim sides on top in the color of your choice.
STEP 4: Glue on LEGO boards and personalize
After the paint is dry, use your liquid nails to glue the LEGO boards into your frame and then personalize it by painting the child’s name on one side of the frame.


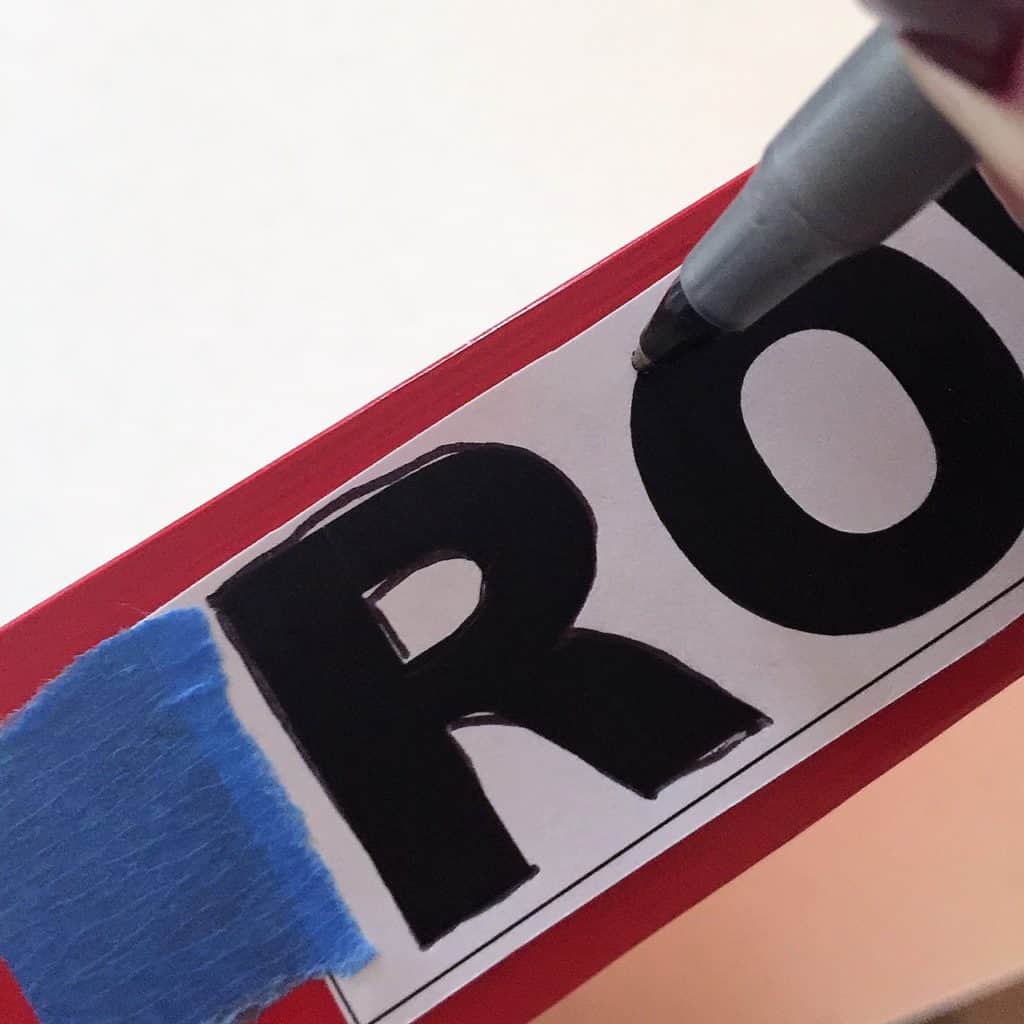
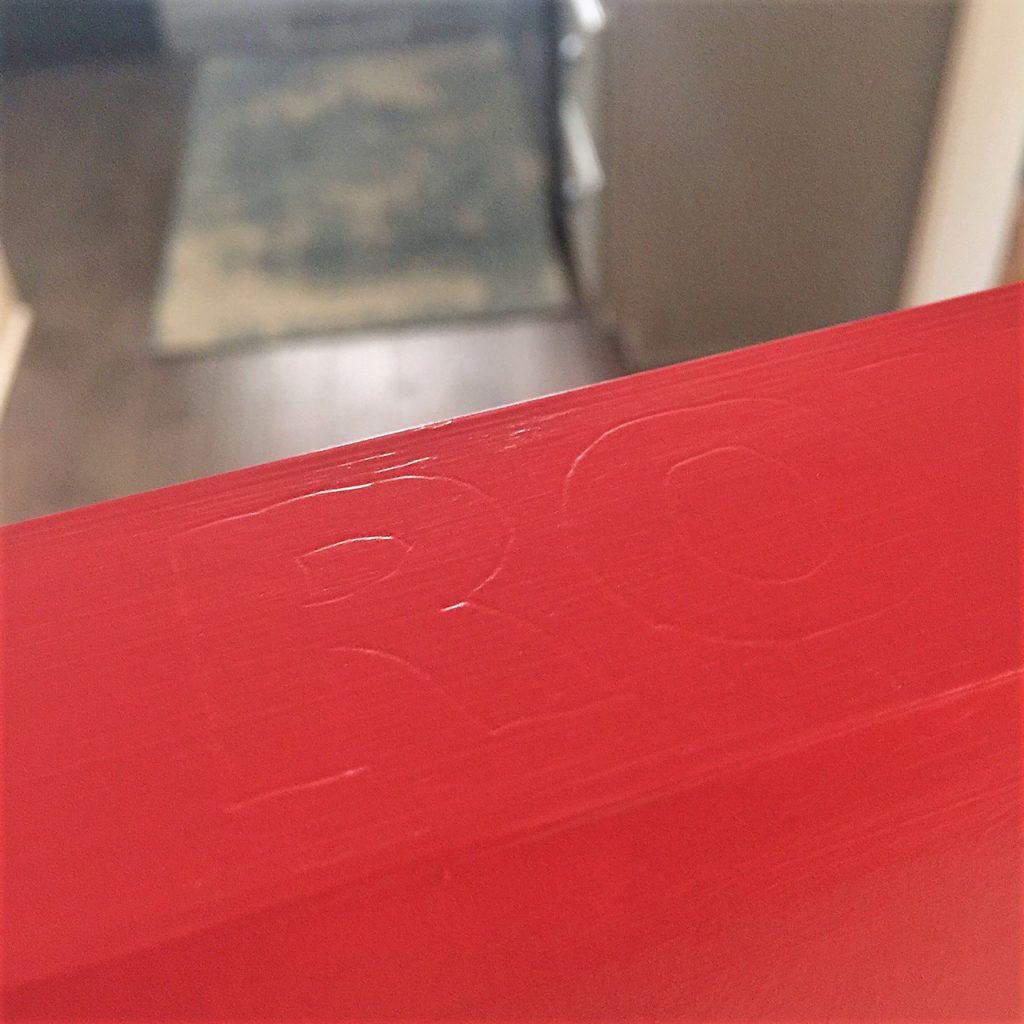
Rather than using a stencil, I print their name off of the computer onto basic paper and then trace over it on the wood with a pen. You can use the indentation as a guide for painting their name on by hand.

We also recommend putting felt pads on the bottom when you’re done so it doesn’t scratch any floor or table it gets set on.
My son loves his and I’m sure Rowen will enjoy this one for years to come. 🙂


RELATED: DIY TULLE CANOPY


Let me know if you have any questions! See you again on Friday with a few of my favorites. 🙂


Right?! It’s one toy I actually enjoy playing with my kids… 😉
Thanks Alyssa! My kids sure do love it!
So cool! Legos are everything!
Holy cow this is really cool! We love playing legos over here too! What a clever idea!